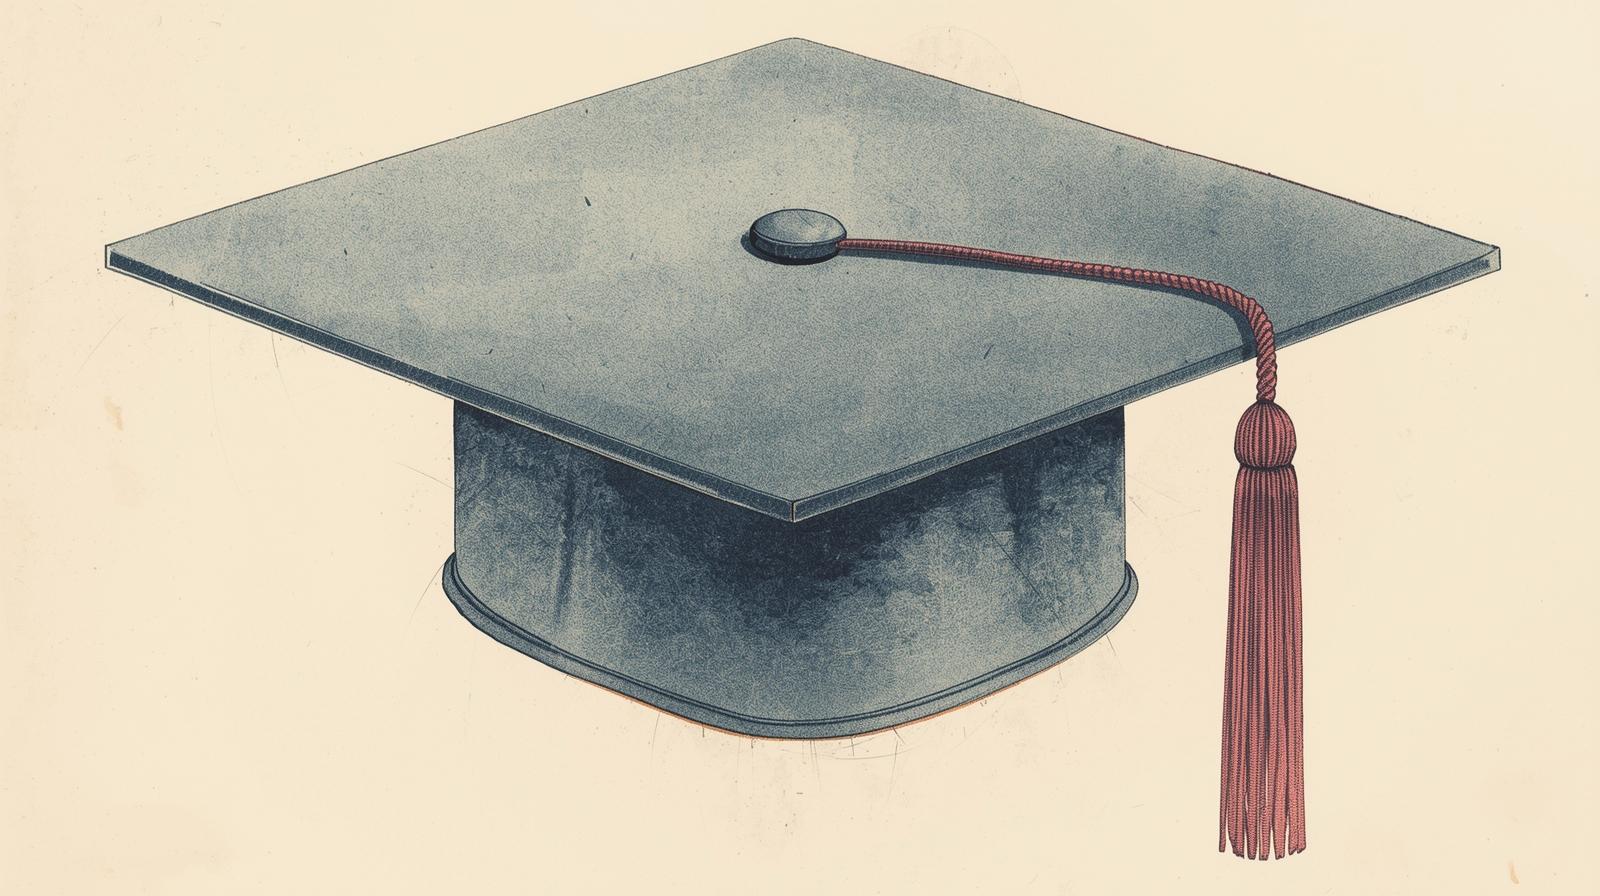
Graduation Cap Drawing: Artistic Expression for Your Milestone Moment
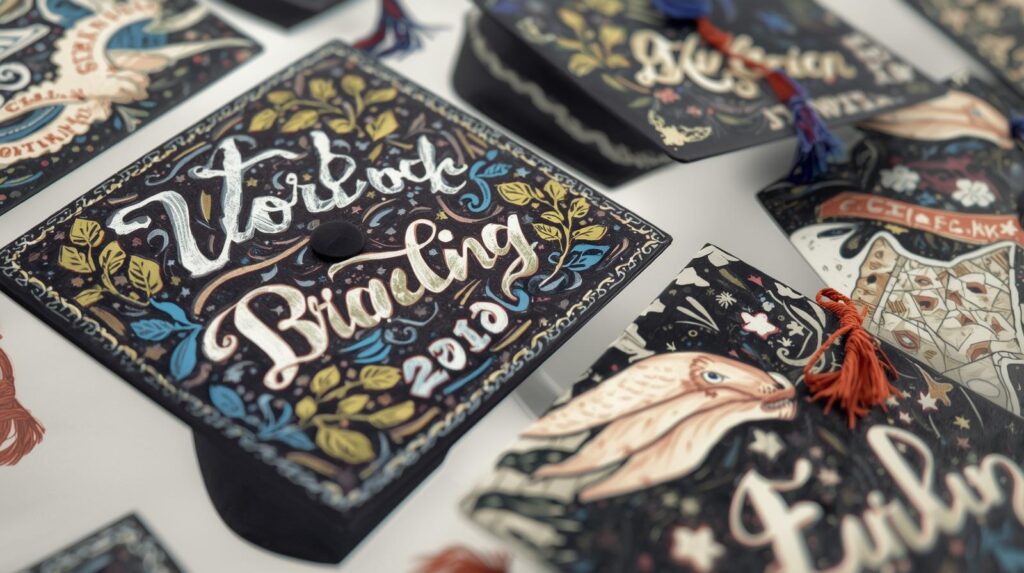
There is something deeply satisfying about creating art with your own hands, especially when that art celebrates one of life’s most significant achievements. Graduation cap drawing offers a uniquely personal way to commemorate your academic journey, transforming a simple mortarboard into a canvas for your creativity and a reflection of your experience. Unlike printed designs or store-bought decorations, hand-drawn caps carry the mark of your own effort, your own hand, your own artistic voice. Whether you’re an experienced artist or someone who hasn’t picked up a paintbrush since elementary school, drawing on your graduation cap can be a rewarding and meaningful way to express yourself on this important day. This comprehensive guide explores everything you need to know about graduation cap drawing, from planning and design to techniques and preservation.
The Appeal of Hand-Drawn Graduation Caps
Before diving into specific techniques, it’s worth understanding why so many graduates choose to draw their caps rather than use other decoration methods. Hand-drawn designs offer several unique advantages that make them particularly special.
First, hand-drawn caps are truly one-of-a-kind. Even if you’re inspired by something you saw online, your interpretation will be uniquely yours. The subtle variations in line weight, the slight imperfections that reveal the human hand, the personal touches you add along the way, all combine to create something that no one else could duplicate.
Second, the process of drawing your cap becomes part of your graduation story. The hours spent planning and creating, the music you listened to while working, the snacks you ate during breaks, the satisfaction of seeing your vision come to life, all become memories attached to this milestone. Years later, when you look at your cap in photographs or displayed in your home, you’ll remember not just the graduation day but the process of creating it.
Third, hand-drawn caps often photograph beautifully. The texture of paint strokes, the depth of layered colors, the subtle details that digital printing can’t replicate, all contribute to images that feel warm and authentic rather than mass-produced.
Planning Your Graduation Cap Drawing
Successful drawings don’t happen by accident. Thoughtful planning ensures your creation turns out as you envision.
Start with Inspiration
Begin by gathering ideas. Browse social media platforms like Pinterest and Instagram for graduation cap designs. Visit art museums or browse artist websites for compositional ideas. Look at graphic design for typography inspiration. Keep a file of images that resonate with you, noting what you like about each.
But don’t stop there. Your cap should reflect you, not just replicate what’s popular. Consider what symbols, colors, and imagery are meaningful to you. Think about your academic journey, what you’ve learned, who helped you along the way, where you’re going next. These personal elements will make your cap uniquely yours.
Sketch Your Ideas
Once you have inspiration, start sketching. Use regular paper first, not your cap. Experiment with different compositions, different arrangements of text and images, different color combinations. Try several versions before settling on one.
Consider the cap’s shape and size. The square format presents unique compositional challenges and opportunities. Central compositions work well, but so do designs that flow diagonally across the surface. Consider how the design will look from various angles and distances.
Consider Your Skill Level
Be honest about your drawing abilities. If you’re comfortable with detailed illustrations, ambitious designs may be within reach. If your skills are more basic, simpler designs with bold shapes and clean lines will serve you better. A well-executed simple design always looks better than a poorly executed complex one.
If your design includes elements beyond your current skills, consider simplifying or finding workarounds. Stencils can help with lettering. Tracing can transfer complex images. Collaborating with artistically gifted friends is always an option.
Test Your Design
Before committing to your cap, create a full-size mock-up on paper the same size as your cap. This allows you to test your composition, practice your techniques, and identify any issues before they matter. Make adjustments based on what you learn.
Materials for Graduation Cap Drawing
Having the right supplies makes the difference between frustration and satisfaction.
The Cap Itself
Your graduation cap has a slightly textured surface that accepts various media. If your cap has a glossy finish that might repel paint, lightly sand it with fine-grit sandpaper to create “tooth.” Wipe away all dust with a slightly damp cloth and allow to dry completely before beginning.
Consider purchasing an extra cap if possible. Having a backup allows you to start over if things go wrong and provides practice material for testing techniques.
Drawing and Painting Supplies
Acrylic paint works well on mortarboard surfaces. It adheres properly, dries quickly, and comes in countless colors. Paint in thin layers, allowing each to dry completely before adding the next. Multiple thin coats create smoother results than one thick coat.
Paint pens offer more control for detailed work and lettering. They’re available in various colors and tip sizes at craft stores. Practice on similar surfaces before committing to your cap.
Permanent markers work for simple designs but may fade over time. They’re best for line work rather than large colored areas. Test on your practice cap to ensure they don’t bleed.
Colored pencils can work on sanded surfaces but may not be as durable as paint. They’re best for designs that won’t be handled much.
Brushes and Tools
Have various brush sizes available. Fine-tipped brushes allow detail work; larger brushes cover background areas efficiently. Foam brushes create smooth, even coverage for backgrounds.
Painter’s tape helps create clean lines and protect areas you don’t want painted. Pencils allow light sketching for planning before committing to paint. Erasers remove pencil marks (be gentle to avoid damaging the surface).
Protective Finish
Clear sealant spray protects your finished drawing from moisture and handling. Test on a small area first to ensure compatibility with your materials and to check for any color changes. Matte finishes reduce glare; glossy finishes add shine.
Techniques for Successful Cap Drawing
These techniques help ensure professional-looking results.
Transferring Your Design
Once your design is finalized on paper, transfer it to your cap. Lightly sketch with pencil directly on the cap surface. The marks should be visible enough to guide you but light enough to erase or paint over.
For complex designs, consider using transfer paper. Place transfer paper between your drawing and the cap, then trace your design to transfer the lines. This creates accurate reproduction without freehand drawing.
Working with Paint
Start with your background if your design requires one. Apply thin, even coats and allow adequate drying time between layers. Rushing leads to smudges and uneven coverage.
Work from background to foreground, adding details last. This layering approach creates depth and prevents foreground elements from being covered by later additions.
Clean brushes thoroughly between colors to prevent muddying. Have water and paper towels handy for quick cleaning.
Creating Clean Lines
Use painter’s tape for straight lines and sharp edges. Press edges firmly to prevent paint bleeding underneath. Remove tape while paint is still slightly wet for cleanest results.
For curved lines, practice freehand on paper before attempting on your cap. Steady your hand by resting it on a support and work slowly.
Lettering Techniques
Hand-lettering adds personal touch but requires practice. Sketch letters lightly in pencil first, then refine. Use a ruler for straight lines if needed. Consider using stencils for consistent lettering if freehand feels daunting.
For paint pens, practice on paper to get comfortable with flow and pressure. Test on your practice cap to ensure the pen works on the surface.
Adding Details
Fine details come last. Use smallest brushes or paint pens for precision. Work slowly and allow elements to dry before adding adjacent details to prevent smudging.

Popular Drawing Themes for Graduation Caps
While your design should reflect you, understanding popular themes helps generate ideas.
Portrait Drawing
Drawing yourself, a loved one, or someone who inspired you creates deeply personal caps. Portraits require significant skill but produce stunning results. Consider simplifying with stylized or graphic representations rather than photorealism.
Symbolic Imagery
Symbols representing your journey make powerful designs. Keys for unlocking potential, doors for new beginnings, mountains for challenges overcome, all convey meaning without words. Combine multiple symbols to tell your complete story.
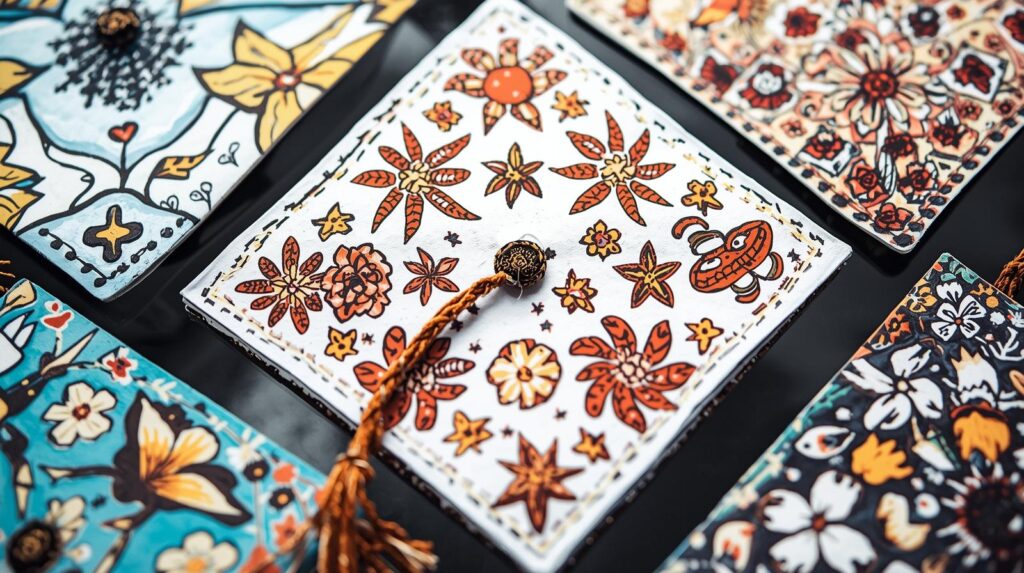
Nature Themes
Floral designs, trees representing growth, birds symbolizing freedom, all connect your achievement to natural cycles. These organic forms often forgive imperfect execution, adding to their charm.
Architectural Elements
For graduates in design-related fields, architectural drawings make appropriate caps. Simple building silhouettes, detailed renderings, or abstract structural elements all celebrate your discipline.
Abstract Designs
Sometimes pure abstraction best expresses your experience. Color fields representing emotions, geometric patterns symbolizing order, gestural marks capturing energy, all communicate without literal imagery.
Illustrated Quotes
Combining hand-lettered text with related illustrations creates cohesive designs. A quote about reaching for the stars accompanied by a simple constellation, words about growth with sprouting plants, the combination adds depth to both elements.
Step-by-Step Drawing Process
Follow these steps for a successful cap drawing experience.
Prepare Your Workspace
Cover your work surface with newspaper or a drop cloth. Have good lighting that doesn’t create glare on your work area. Gather all supplies before beginning so you don’t have to search mid-project.
Prepare Your Cap
Sand if needed, wipe clean, and allow to dry completely. Apply base coat if your design requires a different background color. Allow proper drying time.
Transfer Your Design
Lightly sketch your design on the cap with pencil. Step back frequently to assess composition. Make adjustments before committing to paint.
Begin Painting
Start with background areas, working in thin layers. Allow drying between coats. Add middle elements next, then foreground details last.
Add Lettering
If your design includes text, add it after major imagery but before final details. Use guides for straight lines. Work slowly and deliberately.
Final Details
Add fine details and touch-ups. Allow everything to dry completely before evaluating.
Seal
Apply clear sealant according to product instructions. Allow to cure fully before handling.
Troubleshooting Common Problems
Even careful planning encounters challenges. Here’s how to address common issues.
Paint Bleeding Under Tape
Ensure tape edges are firmly pressed. Remove tape while paint is still slightly wet. For future projects, apply a layer of clear medium along taped edges before painting to seal them.
Uneven Coverage
Apply multiple thin coats rather than one thick coat. Allow proper drying between layers. Light sanding between coats can smooth texture.
Smudged Work
Allow adequate drying time between steps. Work from top to bottom and left to right (if right-handed) to avoid resting your hand on wet areas.
Mistakes
Don’t panic. Many mistakes can be corrected. Allow paint to dry completely, then paint over the area. For small errors, touch up carefully with a small brush.
Preserving Your Drawn Cap
After graduation, your hand-drawn cap deserves proper care.
Display Options
Shadow boxes provide ideal display, protecting the cap while allowing you to enjoy it. Include your diploma, tassel, and graduation photos for a complete commemorative display.
Storage
If not displaying, store your cap flat in a cool, dry place away from direct sunlight. Acid-free boxes prevent deterioration. Handle minimally and with clean hands.
Photography
Document your cap thoroughly before graduation. Photograph it from multiple angles, in good light, with and without flash. These images preserve your work even if the physical cap eventually shows wear.
Conclusion: Your Artistic Achievement
Drawing your graduation cap transforms a simple tradition into a deeply personal expression of your journey. The hours spent creating, the choices you made, the skills you developed or discovered, all become part of your graduation story alongside the ceremony itself.
Whether your drawing is an intricate masterpiece or a simple, heartfelt design, it carries meaning that no store-bought decoration could match. Your hand, your vision, your effort, all visible in every line and brushstroke. That is something worth celebrating.
So take a deep breath, gather your supplies, and begin. Trust yourself. Make mistakes and fix them. Enjoy the process as much as the result. And on graduation day, when you place your hand-drawn cap on your head and walk across that stage, know that you’ve created something beautiful to commemorate something beautiful.
Congratulations, artist. Congratulations, graduate. Your cap is ready.