DIY Room Decor: Creative Projects to Personalize Your Space
There is something incredibly satisfying about living in a space filled with things you made yourself. Unlike store-bought decor, which can feel generic and disconnected from your life, handmade items carry the mark of your own effort, your own creativity, your own story. DIY room decor allows you to create spaces that are truly one-of-a-kind, expressing your personality in ways that mass-produced items never can. Whether you are an experienced maker or someone who hasn’t crafted since elementary school, the world of DIY decor offers projects for every skill level, every budget, and every style. From simple updates that take an afternoon to ambitious undertakings that become weekend projects, this comprehensive guide explores DIY room decor ideas to help you transform your space with your own two hands.
The Joy of Making
Before diving into specific projects, it is worth understanding why DIY decor feels so satisfying. Creating something with your own hands connects you to traditions of craftsmanship that stretch back centuries. It slows you down in a world that constantly accelerates. It produces objects that carry meaning far beyond their functional purpose.
When you make something for your home, every time you see it, you remember the process of creating it. You remember the music you listened to, the snacks you ate, the satisfaction of solving problems, the moment it finally came together. These memories become part of the object itself, enriching your experience of your space in ways that purchased items cannot match.
DIY decor also allows complete customization. You choose the colors, the materials, the size, the style. Your creation fits your space perfectly because you made it for your space. There is no compromise, no settling for what the store had in stock.
Essential Tools and Materials
Before beginning any DIY project, having the right tools and materials makes the difference between frustration and satisfaction.
Basic Tool Kit
A well-stocked basic toolkit serves countless projects. Essential tools include a hammer, screwdrivers in various sizes, a measuring tape, a level, pliers, a utility knife with fresh blades, and scissors. A power drill with various bits expands possibilities enormously. A hot glue gun with glue sticks proves useful for countless crafting projects.
Painting Supplies
For projects involving paint, gather brushes in various sizes, foam brushes for smooth coverage, painter’s tape for clean lines, drop cloths to protect surfaces, and containers for water and mixing. Quality brushes make a noticeable difference in results.
Materials to Keep on Hand
Certain materials prove useful for countless projects. Mod Podge or decoupage medium, tacky glue, spray adhesive, E6000 for heavy-duty bonding, and wood glue cover most adhesion needs. Acrylic paint in basic colors allows mixing custom shades. Scrapbook paper, fabric remnants, and natural materials like twine and rope can be stored for future inspiration.
Safety Equipment
Safety matters in any DIY project. Keep safety glasses for cutting and drilling, a dust mask for sanding, and gloves for projects involving harsh chemicals or rough materials. Work in well-ventilated areas when using sprays or strong adhesives.
Wall Art DIY Projects
Blank walls offer endless opportunities for DIY creativity. These projects add personality and visual interest without requiring major commitment.
Abstract Canvas Art
Create professional-looking abstract art with minimal skill required. Purchase stretched canvases in various sizes from craft stores. Use painter’s tape to create geometric patterns, then paint exposed areas in colors that complement your room. Remove tape while paint is still slightly wet for clean lines. The result looks intentional and artistic but requires no drawing ability.
For a different approach, try fluid art or pour painting. Mix acrylic paint with pouring medium, layer colors in a cup, then invert onto canvas and tilt to spread. The organic, unpredictable results are always beautiful and completely unique.
Fabric Wall Hangings
Fabric wall hangings add softness and texture to rooms. Start with a wooden dowel or branch. Cut fabric to desired size, leaving extra for a pocket at the top. Hem edges with fabric glue or sewing machine. Slide dowel through pocket and add cord for hanging. Choose fabric that complements your color scheme, or dye plain fabric for custom colors.
For more dimension, layer multiple fabrics, add tassels to the bottom edge, or incorporate embroidery or fabric paint. These hangings work beautifully in bedrooms and living rooms, adding softness and personality.
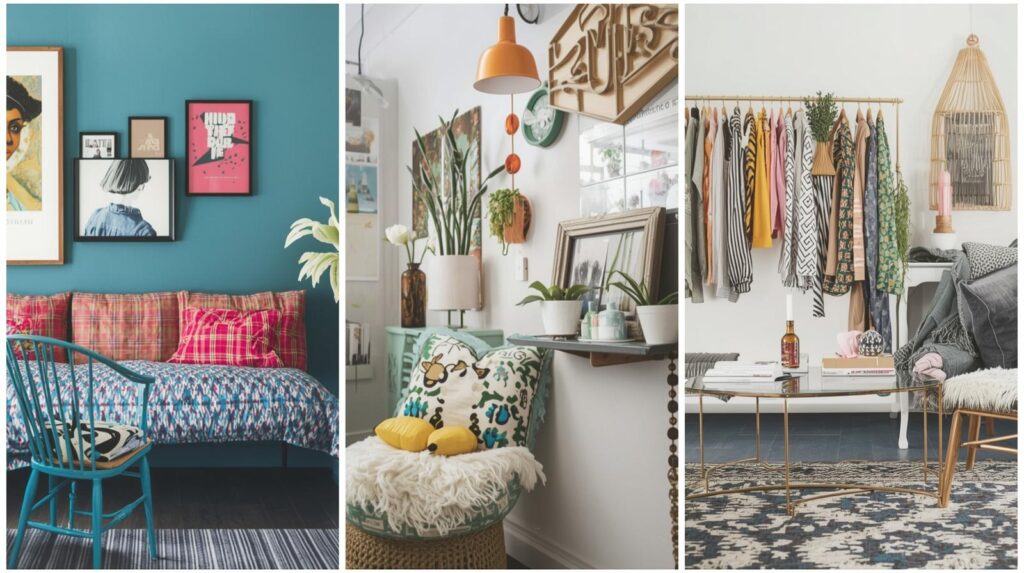
Gallery Wall Assemblages
Create a gallery wall using DIY elements. Paint frames in coordinating colors, even if frames themselves are mismatched. Print your own photographs or favorite quotes on quality paper. Create simple line drawings or watercolors. Include dimensional elements like small shelves with objects. Arrange on floor first, then transfer to wall. The collected, personal feel cannot be purchased.
Washi Tape Art
For renters or those who change their mind often, washi tape offers temporary art solutions. Create geometric patterns directly on walls, design abstract compositions, or “frame” existing art with tape borders. Washi tape removes easily without damaging paint, making it perfect for experimentation.
Wall Decor Beyond Art
Beyond traditional art, numerous DIY projects add interest to walls.
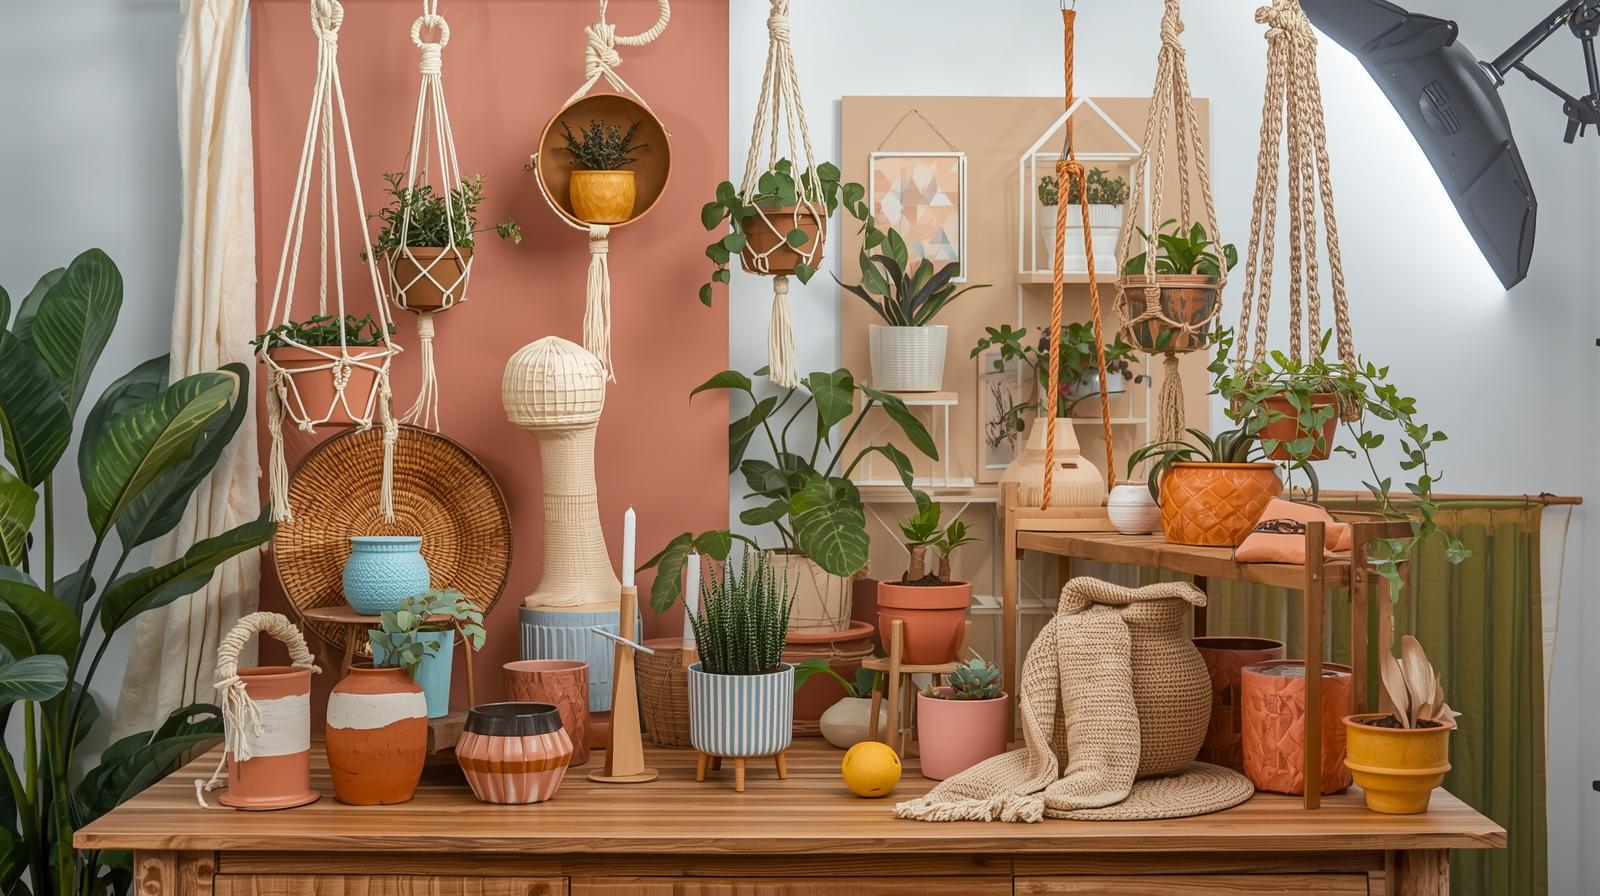
Macrame Wall Hangings
Macrame has experienced a well-deserved renaissance. Basic knots are easy to learn through online tutorials. Start with a simple design using cotton rope and a wooden dowel. The texture adds warmth to any room, and the handmade quality brings bohemian charm. Once you master basic knots, more complex designs become possible.
Woven Wall Baskets
Natural fiber baskets in various sizes create textural wall displays. Arrange in a cluster, perhaps with smaller baskets overlapping larger ones, for collected, organic look. These baskets add warmth and connect to natural materials. They work particularly well in bohemian, farmhouse, and coastal spaces.
Mirror Makeovers
Transform a plain mirror into a statement piece. Apply rope around the edge for nautical look. Use air-dry clay to create dimensional frame. Paint an existing frame in a bold color. Attach shells, beads, or other small objects for texture. A DIY mirror becomes a focal point that reflects both light and your creativity.
Floating Shelves
Simple floating shelves add both storage and display space. Purchase ready-made shelves or cut wood to size. Sand, stain, or paint as desired. Install with hidden brackets for clean, floating look. Style with plants, books, and small objects. These shelves work in any room and provide opportunities to display other DIY creations.
Textile and Soft Furnishings DIY
Textiles transform the feel of a room and offer accessible DIY opportunities.
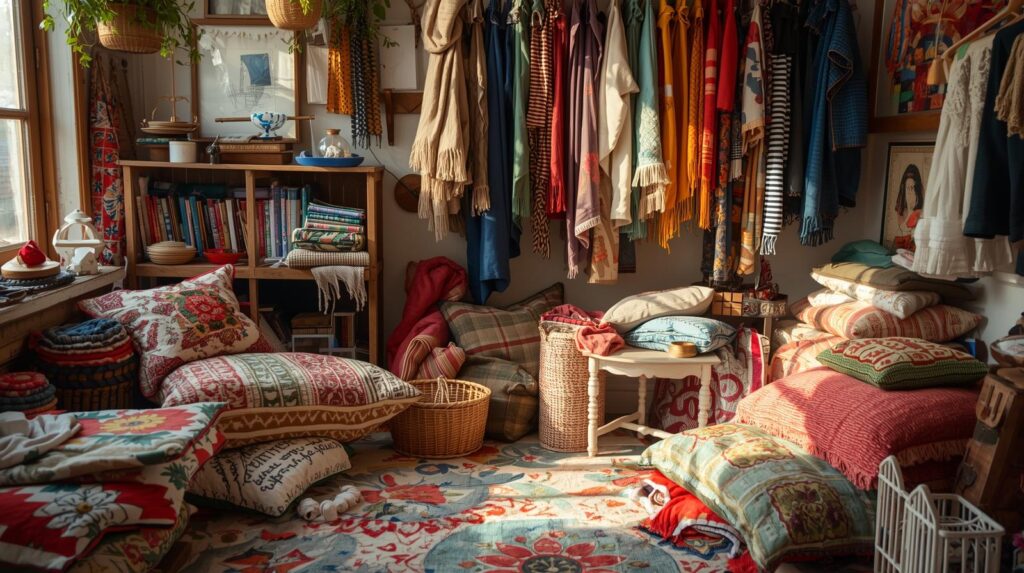
Throw Pillow Covers
Sewing simple pillow covers requires minimal skill. Cut fabric to size plus seam allowance, sew three sides, insert pillow form, and hand-stitch the fourth closed or add buttons or zipper for removable cover. Choose fabrics that coordinate with your room, or dye plain fabric for custom colors.
For no-sew options, use fabric glue or iron-on hem tape. Create envelope-style covers that simply wrap around pillow forms. These quick projects allow you to change pillow colors with seasons or moods.
No-Sew Blankets
Create cozy blankets without sewing. For fleece blankets, cut fringe around edges and tie knots to join layers. For chunky knit blankets, use arm knitting techniques that require no needles and produce beautiful, cozy results. These blankets add warmth and texture to beds and sofas.
Tassel Garlands
Tassel garlands add color and whimsy to any room. Make tassels from embroidery floss, yarn, or fabric strips. Attach to a length of cord or ribbon, spacing as desired. Hang across a window, along a wall, or above a bed. These garlands are quick to make and can be customized in any colors.
Dyed Fabric Projects
Fabric dye transforms plain materials into custom creations. Tie-dye, shibori, and ombre techniques produce beautiful, unique results. Dye pillow covers, curtains, or even a plain white duvet cover. The process is satisfying and the results are genuinely one-of-a-kind.
Furniture DIY Projects
Furniture updates offer dramatic impact with relatively modest investment.
Paint Furniture
A coat of paint transforms tired furniture. Clean piece thoroughly, sand lightly to help paint adhere, prime if needed, then apply several thin coats of quality paint. Choose colors that complement your room. For extra durability, seal with clear wax or polyurethane.
Chalk paint adheres to almost any surface without extensive preparation, making it ideal for beginners. Milk paint creates beautiful, matte finish with period character. Spray paint works well for smaller pieces and metal furniture.
Reupholster Chair Seats
Reupholstering chair seats is surprisingly simple. Remove seat from chair by unscrewing from underneath. Remove old fabric and staple new fabric over existing padding, pulling taut and stapling securely. Trim excess fabric and reattach seat. This quick update transforms dining chairs, desk chairs, and accent seating.
Decoupage Furniture
Decoupage involves adhering paper cutouts to surfaces and sealing with multiple coats of varnish. Use decorative paper, maps, sheet music, or pages from old books. Apply to tabletops, drawer fronts, or entire pieces. The result looks like custom-painted furniture but requires only patience and attention to detail.
Hardware Update
Simply changing hardware transforms furniture. Remove old knobs and pulls, fill holes if needed with wood filler, and install new hardware. Choose styles that complement your design aesthetic. This quick, affordable update works on dressers, cabinets, and nightstands.
Create a Headboard
A DIY headboard anchors a bedroom and adds major style. Options include upholstering plywood with foam and fabric, attaching reclaimed wood planks to the wall, hanging a large piece of fabric or tapestry, or arranging a collection of mirrors or art. The scale and impact make this project worth the effort.
Lighting DIY Projects
Lighting affects both function and atmosphere. DIY lighting projects create custom illumination.
Pendant Light Makeovers
Update existing pendant lights with new shades. Create shades from woven baskets, wire cages, or fabric stretched over frames. Ensure any project involving electricity follows safety guidelines, including proper wiring and heat-safe materials. When in doubt, consult a professional.
Lamp Makeovers
Transform thrifted lamps with paint, new shades, or added embellishments. Spray paint bases in metallic or bold colors. Add texture with rope, yarn, or fabric wrapped around the base. Create custom lampshades from fabric or paper. These updated lamps become focal points rather than afterthoughts.
String Light Arrangements
String lights add magic to any room. Arrange them along walls, drape from ceilings, or cluster in glass jars. Use them year-round, not just during holidays. They provide soft, flattering light and create cozy atmosphere. Battery-operated options allow placement anywhere without outlets.
Candle Holders and Lanterns
Create custom candle holders from simple materials. Wrap glass jars with twine or rope. Paint tin cans and punch patterns for lanterns. Arrange pillar candles on a simple board for a centerpiece. These projects add warm, flickering light to any room.
Storage and Organization DIY
Beautiful storage keeps spaces peaceful while expressing your style.
Decorative Boxes and Bins
Cover plain boxes with decorative paper or fabric. Add labels for identification. Stack on shelves or in cubbies for organized, attractive storage. These containers conceal clutter while contributing to your room’s aesthetic.
Pegboard Organizers
Pegboard offers flexible, customizable storage. Paint it to match your room, install on wall, and add hooks and shelves for whatever needs organizing. In a craft room, hold supplies. In a kitchen, store pots and pans. In an entry, organize bags and keys. The pegboard itself becomes part of your decor.
Floating Corner Shelves
Utilize corner space with custom shelves. Cut triangular shelves from wood, sand smooth, stain or paint, and install with brackets designed for corners. These shelves display plants, books, or small objects while using space that often goes wasted.
Under-Bed Storage Drawers
Create rolling storage for under-bed space. Build simple wooden boxes on casters, or repurpose shallow bins and add wheels. Paint or cover to match your room. Store off-season clothing, extra bedding, or items used infrequently.
Natural and Botanical DIY
Bringing nature indoors adds life and freshness to any room.
Preserved Moss Art
Create living art with preserved moss. Moss requires no water or light, maintaining its color and texture indefinitely. Arrange on a board or in a frame, perhaps with other preserved botanicals. The result brings the outdoors in without maintenance requirements.
Terrariums
Glass containers with layers of sand, soil, and plants create miniature gardens. Choose plants that thrive together and require similar care. Closed terrariums need little water; open terrariums allow more variety. These living sculptures add green to any room.
Hanging Planters
Create macrame plant hangers or simple rope slings for hanging plants. This displays plants at eye level and saves surface space. Group several hanging plants at varying heights for dramatic effect. Choose plants suited to your light conditions.
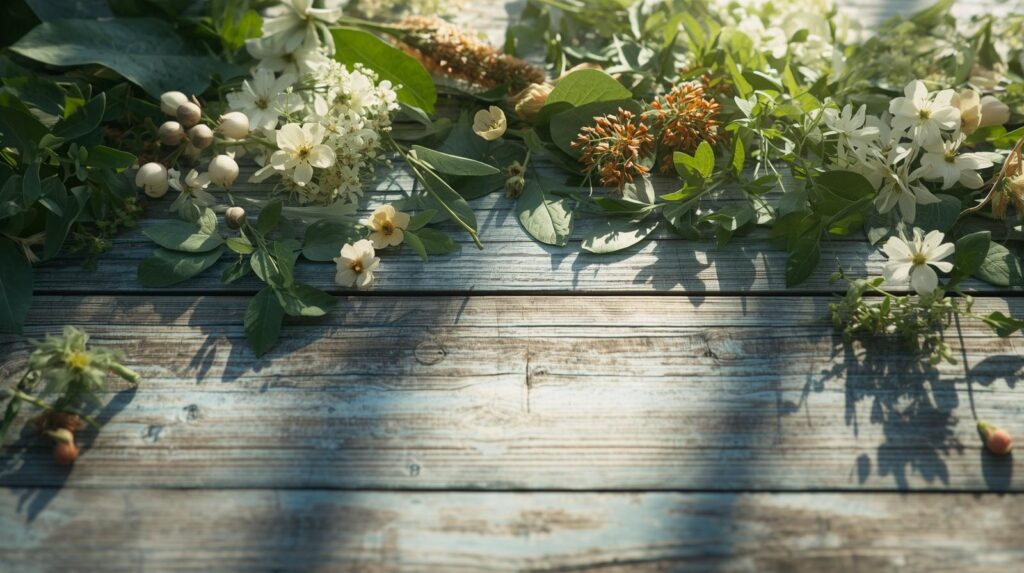
Dried Flower Arrangements
Preserve garden beauty by drying flowers. Hang bunches upside down in a dark, dry place until completely dry. Arrange in vases for arrangements that last indefinitely. Dried flowers add texture and nostalgia to any room.
Personalized Touches
The most meaningful DIY projects are those that tell your story.
Memory Display
Create a display of meaningful memories. Arrange photos in a creative way, perhaps on a wire with clips or in a grid of matching frames. Include ticket stubs, postcards, and other mementos. This ever-changing display celebrates your life and relationships.
Quote Art
Paint or letter favorite quotes on canvas, wood, or directly on walls. Use stencils for perfect lettering or embrace hand-drawn imperfection. Choose quotes that inspire you or hold personal meaning. These reminders of what matters surround you daily.
Family Name Sign
Create a sign with your family name or initials. Paint on wood, arrange individual letters, or use a stencil on a larger surface. This personal touch makes your space feel like yours alone.
Conclusion: The Satisfaction of Making
DIY room decor offers more than just beautiful results. The process of creating, the satisfaction of solving problems, the pride in finished work, all contribute to well-being in ways that passive consumption cannot match. When you live surrounded by things you made, your home becomes a reflection of your capabilities and creativity.
Start with projects that match your skill level and build confidence gradually. A simple pillow cover leads to more ambitious sewing. A basic painted piece leads to furniture transformation. Each successful project builds skills for the next.
Remember that imperfection is part of handmade charm. Your creations will not look like store-bought items, and that is precisely their value. The slightly uneven line, the color that isn’t quite uniform, these imperfections prove that a human made this, that your hands touched this object, that your time and attention went into your home.
So gather your materials, clear your workspace, and begin. Your home is waiting to be transformed by your own two hands. The satisfaction of creating something beautiful for your space awaits.